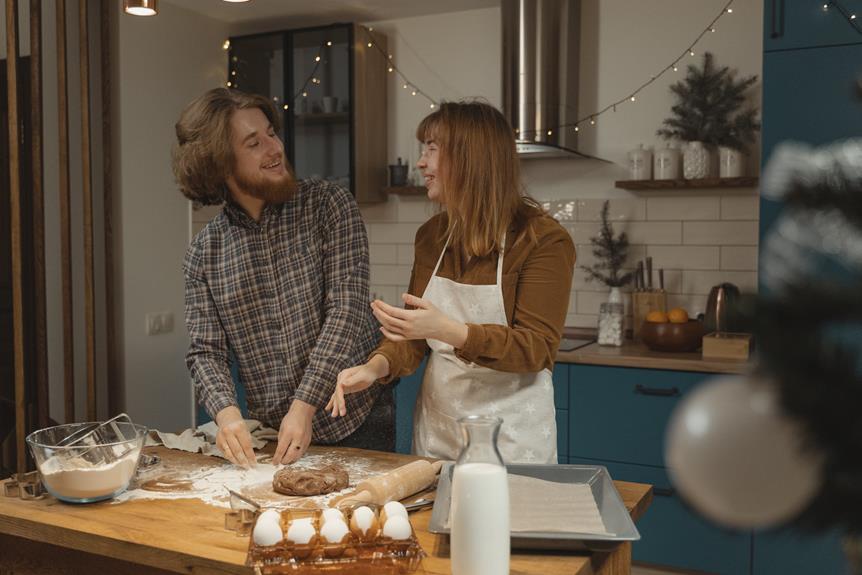
As you venture on the journey to master gluten and dairy-free baking, you'll quickly realize that it's not just about substituting ingredients, but about understanding the intricacies of gluten-free flours and dairy alternatives. You'll need to develop a keen sense of how to balance flavors, textures, and moisture levels to create treats that are both delicious and safe for those with dietary restrictions. With the right guidance, you can discover the secrets to creating perfect gluten-free baked goods – but first, you'll need to get familiar with the unique challenges and opportunities that come with this specialized approach to baking.
Understanding Gluten-Free Flours
What makes gluten-free flours so finicky, and how can you master their unique characteristics to achieve baking success? You'll soon discover that it's all about understanding the art of flour blending. Gluten-free flours don't contain the same binding properties as traditional flours, making them prone to crumbling or becoming too dense. To combat this, you'll need to combine different flours to achieve the perfect ratio. Ancient grains like quinoa, amaranth, and teff are excellent additions to your blends, as they offer nutty flavors and added nutrition.
When blending, consider the protein content, texture, and flavor profiles of each flour. For instance, almond flour adds moisture and delicate flavor, while coconut flour absorbs liquid and provides structure. Start by creating a base flour blend using a combination of rice flour, potato starch, and tapioca flour. Then, add your chosen ancient grains and other specialty flours to create a customized blend that suits your baking needs. With practice and patience, you'll develop a keen sense of how to balance your flour blends, ensuring your gluten-free baked goods turn out light, fluffy, and delicious. Experimenting with different ratios will help you fine-tune your blend for specific recipes, whether you’re baking bread, cakes, or cookies. Incorporating traditional baking techniques for ancient grains can further enhance the flavors and textures, as these time-tested methods often bring out the best in earthy, nutrient-rich flours like teff or sorghum. Remember, the key is to balance your ingredients thoughtfully, ensuring the blend complements the unique properties of each flour for exceptional results.
Dairy Substitute Options
Now that you've mastered the art of flour blending, it's time to tackle the challenge of replacing dairy products in your baked goods, which can be just as finicky as gluten-free flours. You'll need to find suitable substitutes that not only mimic the taste and texture of dairy but also complement the flavor profiles of your gluten-free flours.
Nut Milk Alternatives are a popular choice for dairy-free baking. Almond milk, soy milk, and coconut milk are popular options, each with its unique flavor profile. Almond milk adds a subtle nutty flavor, while soy milk provides a slightly stronger, earthier taste. Coconut milk, on the other hand, lends a rich, creamy texture and a distinct coconut flavor. Oat milk is another versatile option, offering a mild, naturally sweet flavor that works well in a variety of recipes. When choosing nut milk alternatives, consider the dish you’re preparing and how the milk’s flavor complements it. Additionally, those transitioning to dairy-free lifestyles should research dairyfree foods to avoid, as some products may still contain hidden dairy-derived ingredients despite being labeled as alternatives.
When choosing a dairy substitute, consider the type of baked good you're making and the flavor profile you're aiming for. For example, if you're making a delicate cake, almond milk might be a better choice. If you're making a rich, creamy frosting, coconut milk could be the way to go. Experiment with different options to find the perfect substitute for your dairy-free creations.
Converting Traditional Recipes
With your arsenal of gluten-free flours and dairy substitutes at the ready, it's time to breathe new life into your favorite traditional recipes. Converting them to gluten-free and dairy-free versions might seem intimidating, but it's easier than you think. Start by analyzing the recipe's Flavor Profiling – identify the key components that make the original recipe tick. This will help you pinpoint which gluten-free flours and dairy substitutes to use.
Next, it's crucial to adjust the Recipe Scaling. Gluten-free flours absorb liquid differently than traditional flours, so you'll need to adjust the liquid content accordingly. Start with small batches to get the ratio just right, and don't be afraid to experiment. Remember, converting traditional recipes is all about trial and error.
As you work through the conversion process, keep your Flavor Profiling notes handy to confirm the final product stays true to the original. With patience and practice, you'll be whipping up gluten-free and dairy-free masterpieces in no time. So, go ahead and dust off those old recipe books – it's necessary to give your favorite treats a gluten-free and dairy-free makeover!
Essential Gluten-Free Tools
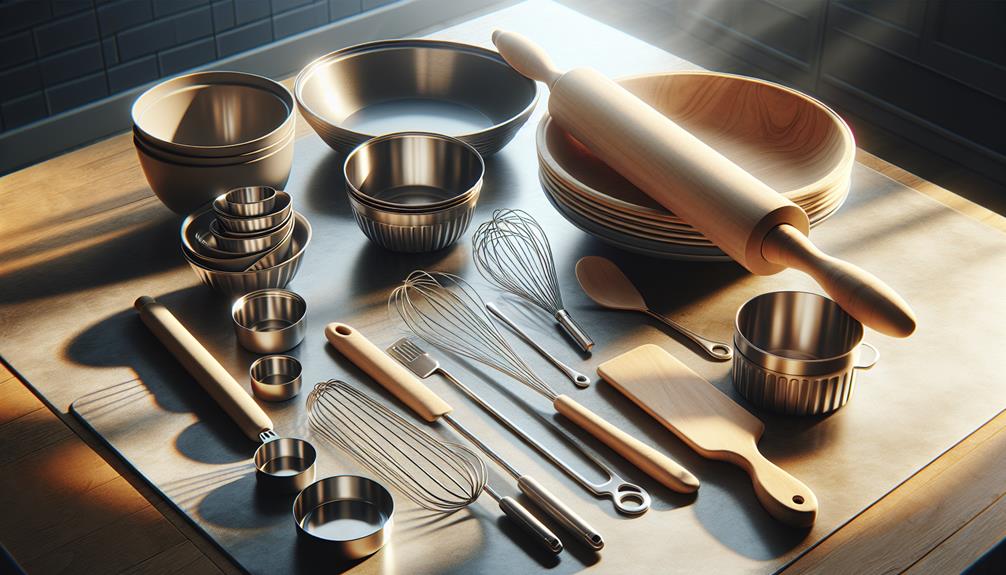
You'll need a few specialized tools in your gluten-free arsenal to guarantee your baked goods turn out light, fluffy, and delicious. A digital scale is a must-have for accurate measurements, as gluten-free flours can behave differently depending on their weight. Make sure to calibrate your scale regularly to verify precision. Another vital tool is a high-quality stand mixer or handheld electric mixer. These will help you develop the right mixing strategies for gluten-free dough, which can be more delicate than traditional dough. Invest in a few essential attachments, like a paddle and whisk, to tackle various mixing tasks. A silicone mat or parchment paper is also a necessity for easy dough handling and cleanup. Finally, consider investing in a gluten-free-specific cookbook or online resource to guide you through the intricacies of gluten-free baking. With these tools in your arsenal, you'll be well on your way to creating mouthwatering gluten-free treats that will impress even the most discerning palates.
Mastering Moisture Control
Controlling moisture levels is essential in gluten-free baking, as even slight variations can dramatically affect the texture and structure of your final products. You'll need to take into account the Humidity Effects in your kitchen, as excess moisture can lead to dense, soggy baked goods. On the other hand, dry air can cause your baked goods to become crumbly and dry.
To master moisture control, you'll need to pay attention to your Fat Ratios. Using the right balance of fats, such as oils and butters, can help regulate moisture levels in your baked goods. For instance, using a higher ratio of oil to butter can help keep your baked goods moist, while using more butter can result in a crisper texture. You'll also need to adjust your liquid ratios accordingly, as gluten-free flours tend to absorb more liquid than traditional flours. By understanding how to balance your fat and liquid ratios, you'll be able to achieve the perfect texture and structure in your gluten-free baked goods. With practice and patience, you'll be able to master the art of moisture control and produce delicious, gluten-free treats that will impress anyone.
Frequently Asked Questions
How Do I Prevent Gluten-Free Baked Goods From Becoming Too Dense?
When you're baking gluten-free, you'll want to balance your starch ratio and use the right leavening agents to avoid dense goods. You'll achieve a lighter texture by adjusting these elements to create a harmonious blend.
Can I Use Gluten-Free Flours to Make Yeast-Based Bread?
You can use gluten-free flours to make yeast-based bread, but it's essential to master flour blending and yeast activation techniques to achieve the right structure and rise, as gluten-free flours behave differently than traditional flours.
Are All Gluten-Free Baked Goods Automatically Vegan?
You might think all gluten-free baked goods are vegan, but they're not; some contain animal-derived ingredients like honey or eggs. Check labeling laws and ingredient lists to verify vegan ingredients are used.
How Do I Store Gluten-Free Baked Goods to Maintain Freshness?
You'll keep your gluten-free treats fresh by storing them in airtight containers at room temperature for up to 3 days or opt for freezer storage, where they'll remain fresh for up to 3 months.
Can I Substitute Gluten-Free Flours 1:1 in Traditional Recipes?
You can't simply substitute gluten-free flours 1:1 in traditional recipes; it's not that easy. You'll face flavor profile changes and texture challenges, requiring adjustments to liquid content, gum additions, and ratio tweaks to get it right.
Conclusion
You've made it! With the knowledge of gluten-free flours, dairy substitutes, and specialized techniques, you're now equipped to tackle any gluten and dairy-free baking challenge. Remember to experiment, practice patience, and master moisture control to create tender, delicious treats. Don't be afraid to try new recipes and adjust them to your liking. With time and persistence, you'll become a skilled gluten and dairy-free baker, whipping up mouthwatering goodies that everyone can enjoy.


